How to set up the Checkbox block
In short
The Checkbox block shows a single checkbox with your label in checkout. In the current version the buyer's tick isn't saved to the order and doesn't block checkout, even though the edit form shows Where to store the value. If you need the answer on the order, use a Dropdown with Yes and No options, or a Conditional Checkbox to reveal follow-up fields.
Category
Custom Fields
Plan
Advanced & Deluxe
Where it shows
Shopify checkout
Saves to order
Attribute or metafield
✓ Applies to
- Advanced and Deluxe plans
- Shopify Plus checkout
- Any checkout position: body, after the header, or around the delivery address
✕ Doesn't apply to
- Recording consent or opt-ins on the order. The tick isn't saved
- Forcing the buyer to tick before paying
What the Checkbox block does
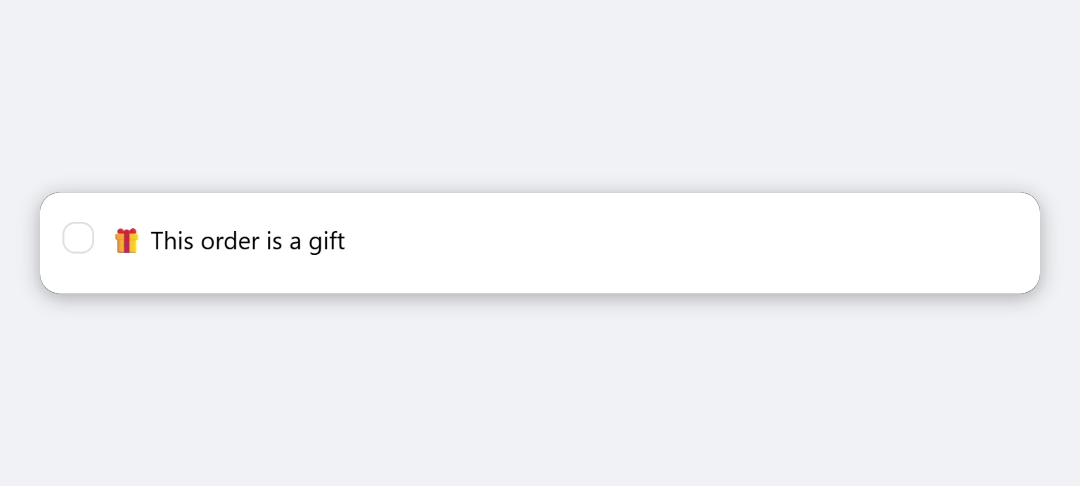
The block shows a single checkbox with your label at the position you choose in checkout. The buyer can tick and untick it. In the current version of the app, that’s all it does: the tick isn’t stored on the cart or the order, and it doesn’t affect whether the buyer can pay.
The edit form includes Where to store the value, but the Checkbox block doesn’t use it. Nothing is saved to the order. To record a yes/no answer, use a Dropdown with Yes and No options.
When to use it
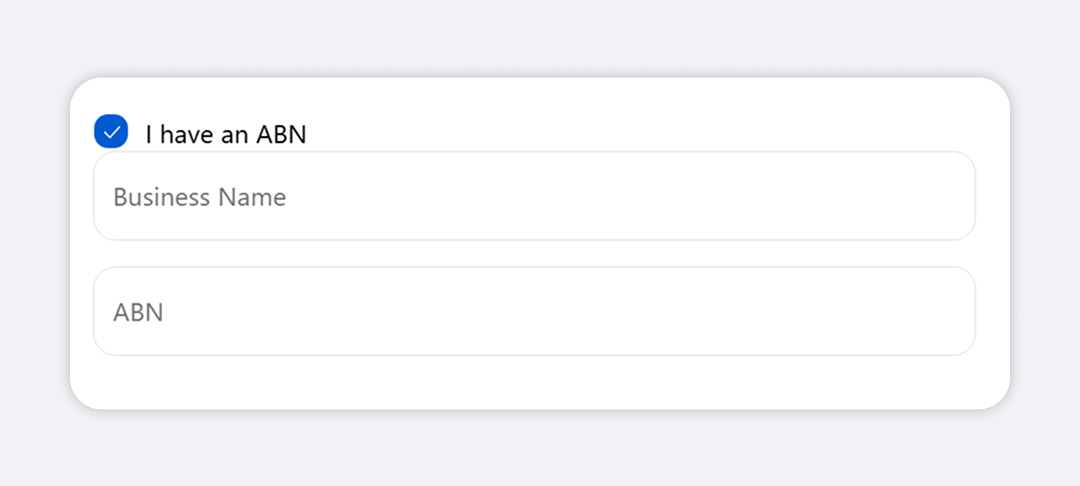
- Inside a Conditional Checkbox, as an extra tick box that appears when the buyer ticks the main checkbox.
- As a visual prompt, when you don’t need to record the answer.
Before you start
- Decide if you need the answer on the order. If you do, use a Dropdown instead.
Set it up
- In Checkout Ninja, go to Blocks and click Create New Block. Then click Start Fresh, or open an existing block you want to add it to.
- Click Add block and choose Checkbox.
- Enter the Checkbox Label.
- Click Done. Check that Status is Active, then click Save and copy the Block ID.
- Click Open Checkout Editor. Add the Custom Block app block where you want the checkbox, paste the Block ID and save.
Settings reference
| Setting | What it does | Default |
|---|---|---|
| Checkbox Label | Text shown next to the checkbox. | Empty |
| Where to store the value | Shown in the form, but not used by the Checkbox block. Nothing is saved. | Not used |
Verify it worked
- Open your checkout. The checkbox shows with your label, unticked.
- Tick it and place a test order.
- Open the order in Orders. Nothing from the checkbox appears under Additional details. That’s the current behaviour.
Limitations
- Shopify Plus only for placement in the checkout steps. That’s a Shopify rule for all checkout apps.
- The tick isn’t saved to the cart or the order.
- It can’t be required and never blocks checkout.
- It starts unticked. There’s no setting to tick it by default.
Troubleshooting
The buyer’s answer isn’t on the order. The Checkbox block doesn’t save its value. Replace it with a Dropdown whose options are Yes and No, and set Where to store the value there.
Buyers can pay without ticking the box. The Checkbox block can’t block checkout. For follow-up details that must be filled in, use a Conditional Checkbox with required Text Input fields inside it.
Want to see this block in a live checkout first? See examples and use cases →
Frequently asked
Is the checkbox value saved to the order? +
No. The Checkbox block's renderer doesn't write to an attribute or metafield, so the setting under Where to store the value has no effect. Use a Dropdown with Yes and No options if you need the answer on the order.
Can I make the checkbox required? +
No. The Checkbox block has no Required setting and never blocks checkout.
What's the difference from Conditional Checkbox? +
A Conditional Checkbox reveals Text Input and Checkbox fields when the buyer ticks it, and can block checkout until required nested text fields are filled.