How to set up the Text Input block
In short
The Text Input block adds a single-line text field to checkout and saves what the buyer types to the order. Add a Text Input block, set its Label, choose where to store the value (an attribute name, or a metafield as namespace.key), and optionally add a regex Pattern with an Error Message. On its own it doesn't block checkout when left empty.
Category
Custom Fields
Plan
Advanced & Deluxe
Where it shows
Shopify checkout
Saves to order
Attribute or metafield
✓ Applies to
- Advanced and Deluxe plans
- Shopify Plus checkout
- Any checkout position: body, after the header, or around the delivery address
✕ Doesn't apply to
- Multi-line answers. Use the Gift Message block for longer text
- Thank-you and order status pages
What the Text Input block does
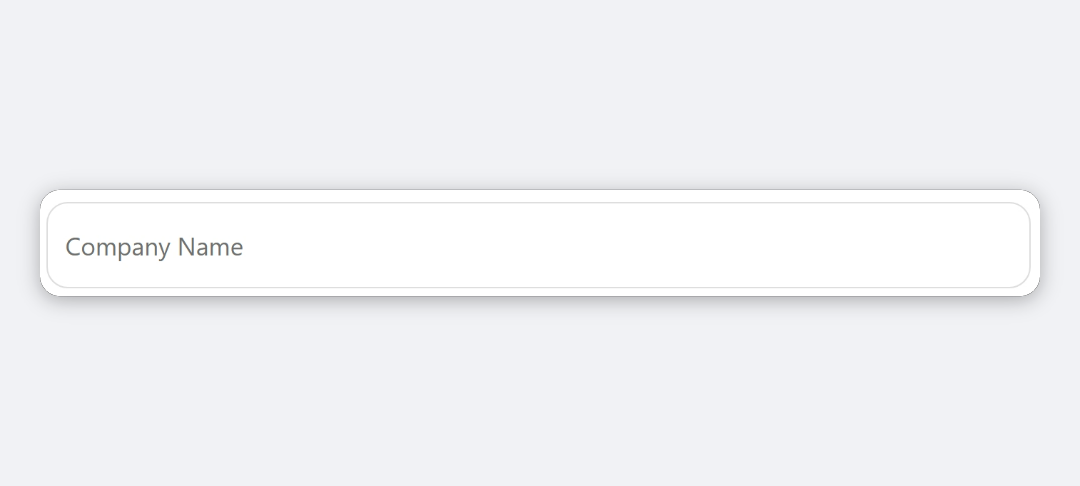
The block adds a single-line text field with your label to checkout. When the buyer finishes typing and leaves the field, Checkout Ninja writes the value to the cart, either as an attribute or as a cart metafield. The value then travels with the order. If you set a validation pattern, the field shows your error message when the value doesn’t match.
When to use it
- Collect a short answer you need to fulfil the order, such as a PO number, engraving text or gate code.
- Capture a reference for your team, such as a sales rep code or a B2B account number.
- Check a format before the buyer moves on, such as a five-digit postcode or a VAT number.
Before you start
- Decide the attribute name the value should be saved under, for example
po_number. Your team and any order integrations will look for this name. - To save the value as a metafield instead, read save a checkout field to an order metafield first. Metafields need extra setup in Shopify.
Set it up
- In Checkout Ninja, go to Blocks and click Create New Block. Then click Start Fresh, or open an existing block you want to add it to.
- Click Add block and choose Text Input.
- Enter a Label. This is the field’s label in checkout.
- Set Required to Yes or No.
- Under Where to store the value, choose Attribute and enter Name of the attribute, for example
po_number. Or choose Metafield and enter a Namespace and Key, such ascustom.po_number. - (Optional) Under Validation, enter a Pattern (Regex) and the Error Message to show when the value doesn’t match.
- Click Done. Check that Status is Active, then click Save and copy the Block ID.
- Click Open Checkout Editor. Add the Custom Block app block where you want the field, paste the Block ID and save.
A standalone Text Input never blocks checkout, even when Required is Yes. To stop checkout until the field is filled, put the Text Input inside a Conditional Checkbox.
Settings reference
| Setting | What it does | Default |
|---|---|---|
| Label | The field’s label in checkout. Also used as the attribute name if you leave the storage name blank. | Empty |
| Required | Yes makes an empty value show “This field is required”, but only when a Pattern (Regex) is also set. It doesn’t block checkout on its own. | No |
Where to store the value
| Setting | What it does | Default |
|---|---|---|
| Attribute → Name of the attribute | Saves the value as a cart attribute with this name. It appears on the order under Additional details. | Attribute, using the Label as the name |
| Metafield → Namespace and Key | Saves the value as a cart metafield, written as namespace.key. A name without a dot uses the custom namespace. | None |
Validation
| Setting | What it does | Default |
|---|---|---|
| Pattern (Regex) | A JavaScript regular expression the value must match. Checked when the buyer leaves the field. | Empty (no check) |
| Error Message | Shown under the field when the value doesn’t match the pattern. | Empty |
Verify it worked
- Open your checkout. The field shows with your label.
- If you set a pattern, type a value that doesn’t match and click outside the field. Your error message appears. Type a valid value and it clears.
- Place a test order with a value in the field.
- Open the order in Orders. With attribute storage, the value is listed under Additional details with your attribute name. With metafield storage, it’s in the order’s Metafields section, as long as you’ve set up the metafield definition.
- Negative check: place a test order with the field empty. The order goes through, and no attribute is added for the field.
Limitations
- Shopify Plus only for placement in the checkout steps. That’s a Shopify rule for all checkout apps.
- A standalone Text Input doesn’t block checkout. Required and pattern checks only show messages in the field.
- The value is saved even when it fails the pattern.
- Single line only. For a longer message, use the Gift Message block.
- Metafield values only reach the order if Shopify copies them. See save a checkout field to an order metafield.
Troubleshooting
The value isn’t on the order. The value is saved when the buyer leaves the field, not while they type. Check Additional details on the order for the attribute name you set. If you left Name of the attribute blank, look for the field’s Label instead. For metafield storage, check the order metafield definition.
The error message never shows.
Validation only runs when Pattern (Regex) has a value. An invalid regex is ignored. Test your pattern in a regex tester first, and remember it isn’t anchored: add ^ and $ to match the whole value.
Setting Required to Yes does nothing. On a standalone Text Input, Required only affects the in-field message, and only when a pattern is set. Nest the field in a Conditional Checkbox if checkout must stop until it’s filled.
Want to see this block in a live checkout first? See examples and use cases →
Frequently asked
Where do I see what the buyer typed? +
With attribute storage, open the order in Shopify admin and look under Additional details. The attribute name is the one you set under Where to store the value, or the field's Label if you left it blank.
Does a required Text Input stop the buyer from paying? +
Not on its own. A standalone Text Input shows an error in the field but never blocks checkout. Required fields only block checkout when the Text Input is nested inside a Conditional Checkbox and the buyer has ticked it.
What pattern syntax does validation use? +
A JavaScript regular expression. It isn't anchored for you, so add ^ and $ if the whole value must match, for example ^[0-9]{5}$ for a five-digit code.
Is an invalid value still saved? +
Yes. The field shows your Error Message, but the value the buyer typed is still written to the attribute or metafield.