How to set up the Dropdown block
In short
The Dropdown block adds a select list to checkout and saves the chosen option's Value to the order. Add a Dropdown block, enter a Label, add each option with a Label (what the buyer sees) and a Value (what's saved), and choose where to store the value. The dropdown starts with nothing selected and doesn't block checkout if left empty.
Category
Custom Fields
Plan
Advanced & Deluxe
Where it shows
Shopify checkout
Saves to order
Attribute or metafield
✓ Applies to
- Advanced and Deluxe plans
- Shopify Plus checkout
- Any checkout position: body, after the header, or around the delivery address
✕ Doesn't apply to
- Lists where one choice filters the next. Use Dependency Dropdown
- Making a choice mandatory before payment
What the Dropdown block does
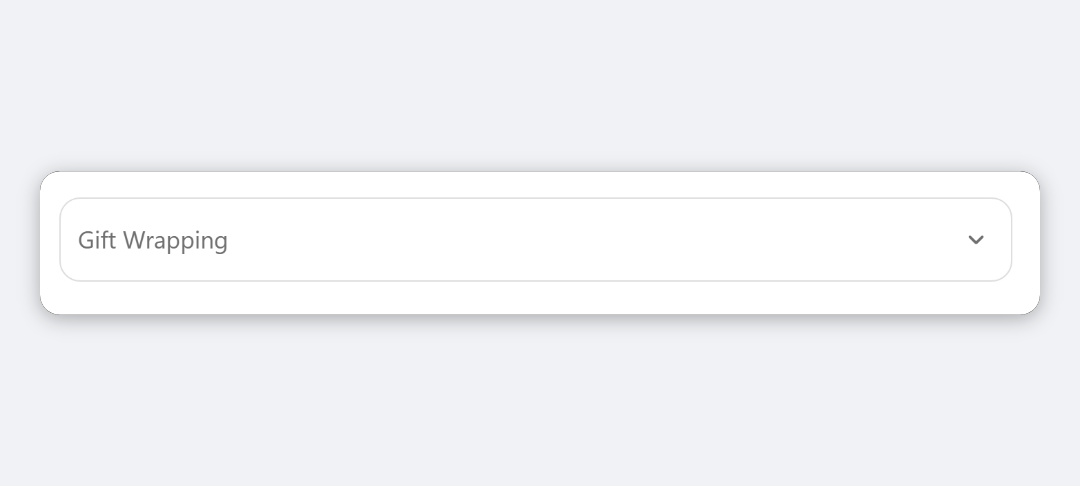
The block adds a select list to checkout. It starts empty, with your label as the placeholder, so no answer is picked for the buyer. When the buyer chooses an option, Checkout Ninja writes that option’s value to the cart as an attribute or a cart metafield, and it carries through to the order.
When to use it
- Offer a fixed set of choices, such as a delivery window, a packaging option or a “How did you hear about us?” answer.
- Keep order data clean. You control the saved value, so fulfilment and reports see consistent text.
- Record a yes/no answer on the order, with two options: Yes and No.
Before you start
- List your options with the label the buyer sees and the value you want on the order.
- Decide the attribute name, for example
delivery_window.
Set it up
- In Checkout Ninja, go to Blocks and click Create New Block. Then click Start Fresh, or open an existing block you want to add it to.
- Click Add block and choose Dropdown.
- Enter a Label. It’s shown as the field label and as the placeholder.
- Under Options, add one entry per choice. Fill in its Label and Value.
- Under Where to store the value, choose Attribute and enter Name of the attribute. Or choose Metafield and enter a Namespace and Key, such as
custom.delivery_window. - Click Done. Check that Status is Active, then click Save and copy the Block ID.
- Click Open Checkout Editor. Add the Custom Block app block where you want the dropdown, paste the Block ID and save.
Settings reference
| Setting | What it does | Default |
|---|---|---|
| Label | Field label and placeholder in checkout. Also used as the attribute name if you leave the storage name blank. | Empty |
Options
Each option has two fields:
| Setting | What it does |
|---|---|
| Label | Text the buyer sees in the list. |
| Value | Text saved to the attribute or metafield when the buyer picks this option. |
Where to store the value
| Setting | What it does | Default |
|---|---|---|
| Attribute → Name of the attribute | Saves the chosen value as a cart attribute with this name. It appears on the order under Additional details. | Attribute, using the Label as the name |
| Metafield → Namespace and Key | Saves the chosen value as a cart metafield, written as namespace.key. | None |
Verify it worked
- Open your checkout. The dropdown shows your label with nothing selected.
- Open it. Every option label you added is listed, in the order you entered them.
- Pick an option and place a test order.
- Open the order in Orders. With attribute storage, the option’s Value is listed under Additional details with your attribute name.
- Negative check: place a test order without choosing. The order goes through with no attribute for the dropdown.
Limitations
- Shopify Plus only for placement in the checkout steps. That’s a Shopify rule for all checkout apps.
- No Required setting. The dropdown never blocks checkout.
- Single choice only. The buyer can’t pick several options.
- No default selection.
- Metafield values only reach the order if Shopify copies them. See save a checkout field to an order metafield.
Troubleshooting
The order shows a code instead of the option name. The order stores each option’s Value, not its Label. Edit the option and make Value the text you want on the order.
The choice is on the order under an unexpected name. If Name of the attribute is blank, the dropdown’s Label is used as the attribute name. Look for the Label under Additional details, or set a name and save the block again.
Buyers skip the dropdown. The Dropdown block can’t block checkout. If an answer is mandatory, use a Dependency Dropdown with a single column and All Fields Required set to Yes.
Want to see this block in a live checkout first? See examples and use cases →
Frequently asked
What gets saved: the option's label or its value? +
The Value. The buyer sees the Label in the list, and the Value is written to the attribute or metafield. Use the same text for both if you want the order to show what the buyer saw.
Can I make the dropdown required? +
No. The Dropdown block has no Required setting and doesn't block checkout. If a selection must be made, use a Dependency Dropdown with one column and All Fields Required set to Yes.
Can I pre-select an option? +
No. The dropdown starts with nothing selected and shows your Label as the placeholder, so the buyer has to make a choice.
Where do I see the choice on the order? +
With attribute storage, open the order in Shopify admin and look under Additional details, listed under your attribute name.