How to set up the Trust Badges (Horizontal) block
In short
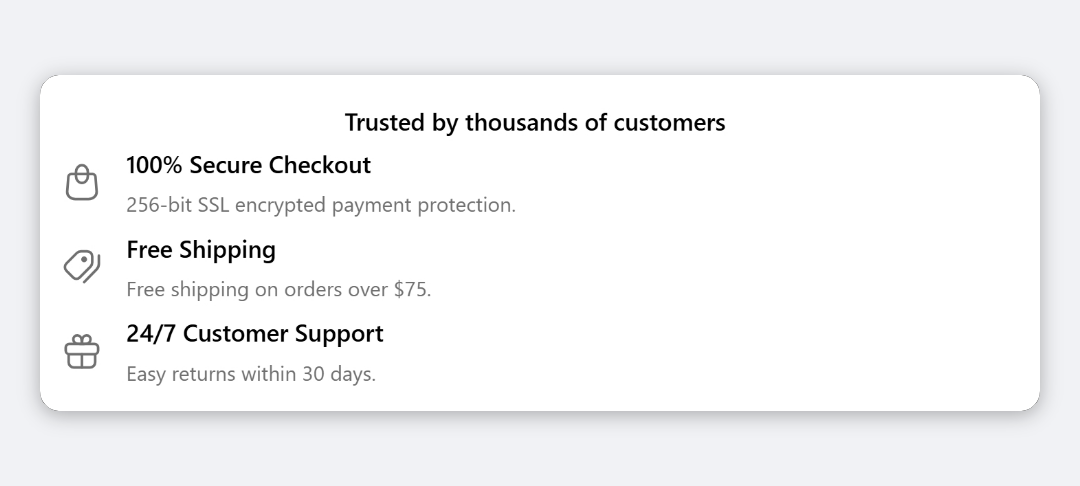
The Trust Badges (Horizontal) block shows a title and a single row of badges, each with an icon above a short title and description. Add the Trust Badge Horizontal block, add your badges under Trust Badges, set Badge Alignment and Badge Spacing, save, and place the block in the checkout editor.
Category
Trust & Security
Plan
Advanced & Deluxe
Where it shows
Shopify checkout
Setup
No code, ~5 minutes
✓ Applies to
- Advanced and Deluxe plans
- Shopify Plus checkout
- Any checkout position: body, after the header, or around the delivery address
✕ Doesn't apply to
- Certified seals from third parties. The block shows the icons and text you choose; it doesn't verify anything
- Thank-you and order status pages
What the Trust Badges (Horizontal) block does
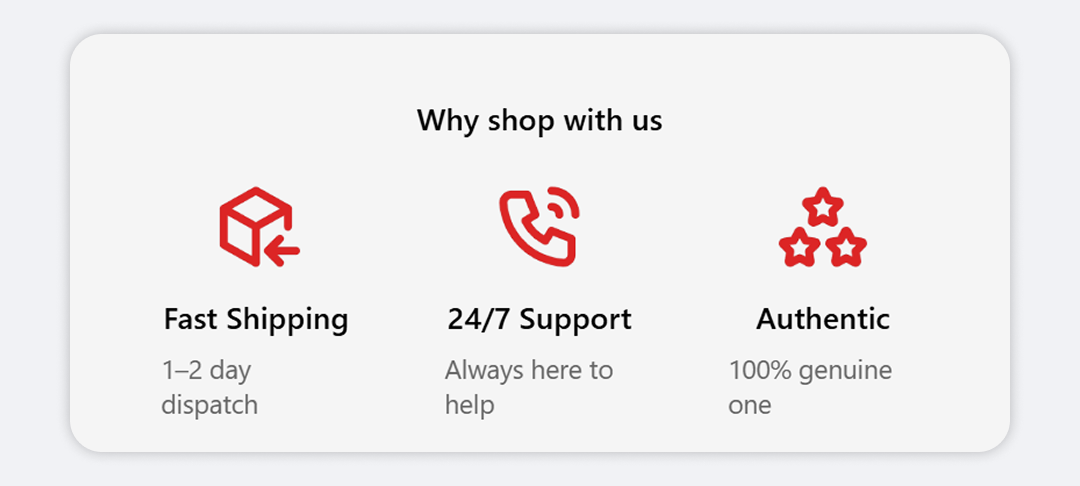
The block shows an optional title, then one row of badges side by side. Each badge is centred in its own column: the icon on top, then a bold title and a short grey description, such as “Secure Checkout” over “SSL Protected”. It takes less height than the stacked Trust Badge block, which suits a short strip near the pay button. It’s display only.
When to use it
- Add a compact trust strip close to the payment step, where vertical space is tight.
- Show three or four short guarantees at a glance: free returns, secure payment, fast delivery.
- Pair it with the stacked Trust Badge block: detail higher up the page, a short reminder lower down.
Before you start
- Keep badge titles short. Each badge gets an equal share of the row, so long text wraps into narrow columns.
- Host any custom icons at a public https URL, for example in Content → Files in your Shopify admin.
Set it up
- In Checkout Ninja, go to Blocks and click Create New Block. Then click Start Fresh, or open an existing block you want to add it to.
- Click Add block and choose Trust Badge Horizontal.
- Under Title, edit the Title Text, or clear it to hide the title. Set Title Alignment.
- Set Badge Alignment and Badge Spacing.
- Under Trust Badges, add a badge. A new badge starts blank, so fill in:
- Badge Title and Badge Description;
- Icon Type: Preset Icon (pick from Choose Icon) or Custom Image (paste an Image URL);
- Icon Size.
- Repeat for each badge, then click Done.
- Check that Status is Active, then click Save and copy the Block ID.
- Click Open Checkout Editor. Add the Custom Block app block where you want the strip. Paste the Block ID and save.
Preview on a phone-width screen. The badges stay in one row and don’t wrap, so check that your titles are still readable in their narrower columns.
Settings reference
Title and layout
| Setting | What it does | Default |
|---|---|---|
| Title Text | Heading above the badges. Leave empty to hide it. | Trusted by thousands of customers |
| Style Preset | Quick style: Heading Large, Heading, Subheading, Body, Body Small or Caption. | Heading Large |
| Advanced Options → Size | Extra Small to Extra Large. | Large |
| Advanced Options → Style | Normal, Bold or Italic. | Bold |
| Advanced Options → Color | Default, Accent (Blue), Subdued (Gray), Success (Green), Warning (Yellow) or Critical (Red). | Default |
| Title Alignment | Left, Center or Right. | Center |
| Badge Alignment | How the row of badges is placed: Left, Center, Right, Space Between or Space Around. | Center |
| Badge Spacing | Gap between badges: None, Extra Tight, Tight, Base, Loose or Extra Loose. | Loose |
Trust Badges (per badge)
| Setting | What it does |
|---|---|
| Badge Title → Title | The badge’s bold line under the icon. Has the same Style Preset and Advanced Options as the block title. |
| Badge Description → Description | Up to 2 lines under the title, shown small and grey unless you change its style. |
| Icon Type | Preset Icon or Custom Image. |
| Choose Icon | (Preset Icon) One of Shopify’s checkout icons, such as Lock, Truck, Return, Credit Card, Gift or Star. |
| Image URL | (Custom Image) URL of your own icon image. Use an https URL. |
| Icon Size | Small (24px), Medium (32px), Large (40px) or Extra Large (48px). |
Verify it worked
- Open your checkout with any product in the cart. The badges show side by side in one row, each with its icon above the text.
- Change Badge Alignment to Space Between, save, and reload checkout. The badges should spread to the edges.
- Check the row on a mobile-width screen and make sure no title is cut off.
Limitations
- Shopify Plus only for placement in the checkout steps. That’s a Shopify rule for all checkout apps.
- The row doesn’t wrap onto a second line. Every badge you add narrows the others.
- Text sizes are approximate. Shopify’s checkout components have no free font sizing, so the six sizes map to four steps.
- Accent (Blue) shows in your default text colour. Shopify’s checkout text has no brand-blue option.
- Badges can’t link to a policy page.
Troubleshooting
A badge shows text but no icon.
Open the badge and check Icon Type. For Preset Icon, choose an icon in Choose Icon; the default value shield isn’t in the list. For Custom Image, check the Image URL opens in a browser and starts with https://.
Badge text wraps into a tall, narrow column. Shorten the titles and descriptions, remove a badge, or lower Badge Spacing. If you need longer text, use the stacked Trust Badge block.
The block doesn’t show in checkout. Check the block is Active and its Block ID is pasted into a Custom Block in the checkout editor. Then run through the general checklist.
Want to see this block in a live checkout first? See examples and use cases →
Frequently asked
How many badges fit in the row? +
The row splits its width evenly between the badges, so every badge you add makes each one narrower. A few badges with short titles read best, especially on mobile.
Can I use the same badges in both layouts? +
Yes. Both blocks have the same badge settings: a title, a description, a preset icon or custom image, and an icon size. Only the layout differs.
Can I spread the badges across the full width? +
Yes. Set Badge Alignment to Space Between or Space Around. Left, Center and Right group the badges together instead.
Can I use my own badge images? +
Yes. Set a badge's Icon Type to Custom Image and paste an https image URL into Image URL.