How to set up the Quick Add Upsell block
In short
The Quick Add Upsell block shows a compact list of add-on products in checkout, one row per product with a variant selector and an Add button, and pages through longer lists. Add the block, choose a Product Source, set Maximum Products and Products Per Page, then save and place the block in the checkout editor.
Category
Conversion Boosters
Plan
Deluxe only
Where it shows
Shopify checkout
Setup
No code, ~5 minutes
✓ Applies to
- Deluxe plan only (not on Advanced)
- Shopify Plus checkout
- Any checkout position: body, after the header, or around the delivery address
✕ Doesn't apply to
- Subscription (selling plan) options. Use the Upsell block for those
- Thank-you and order status pages
What the Quick Add Upsell block does
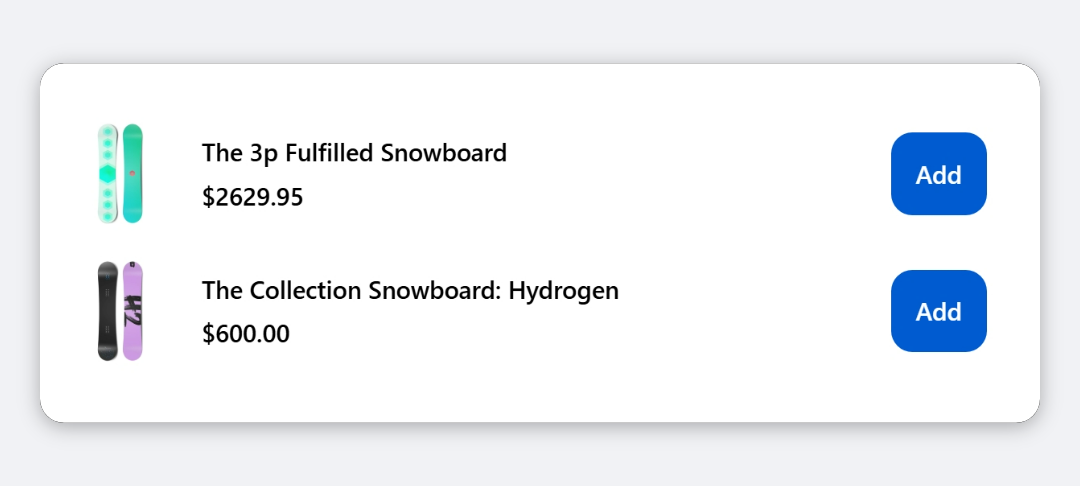
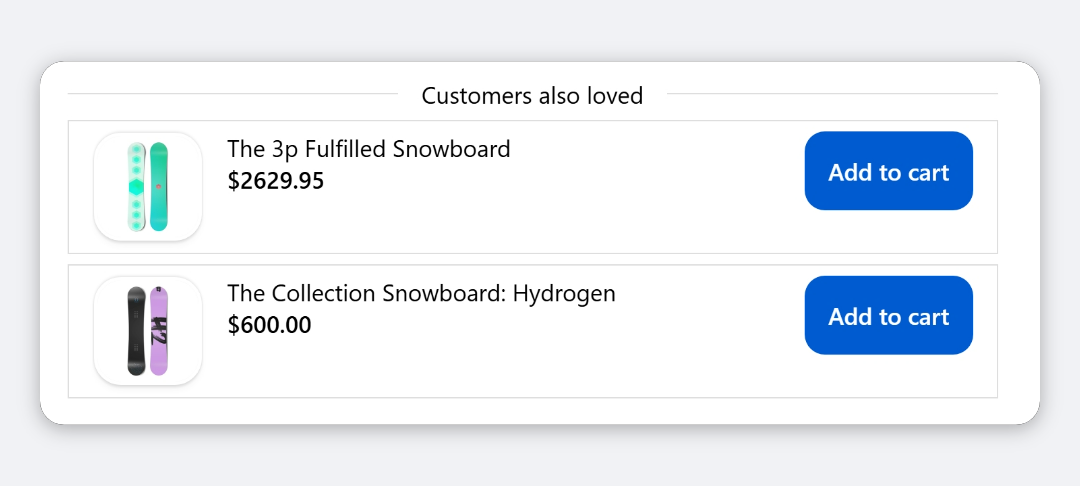
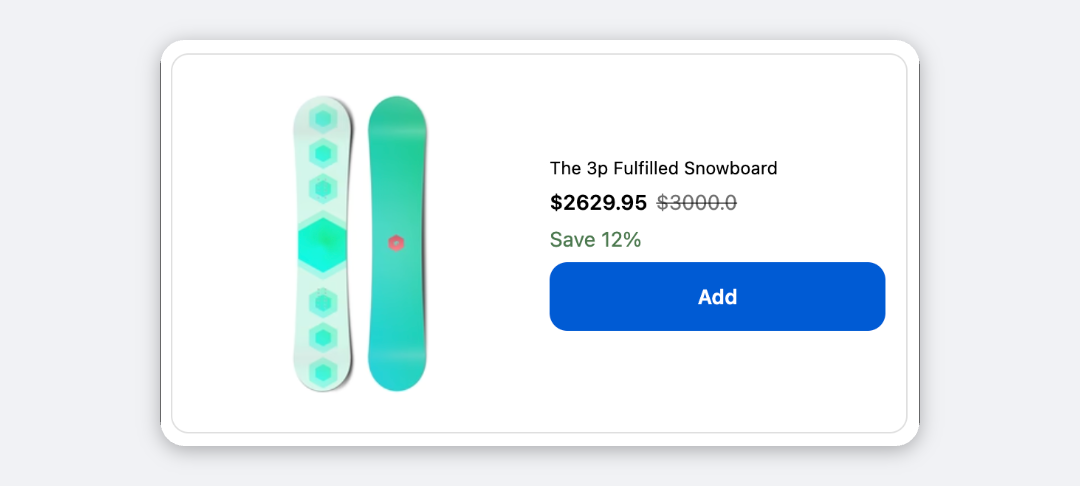
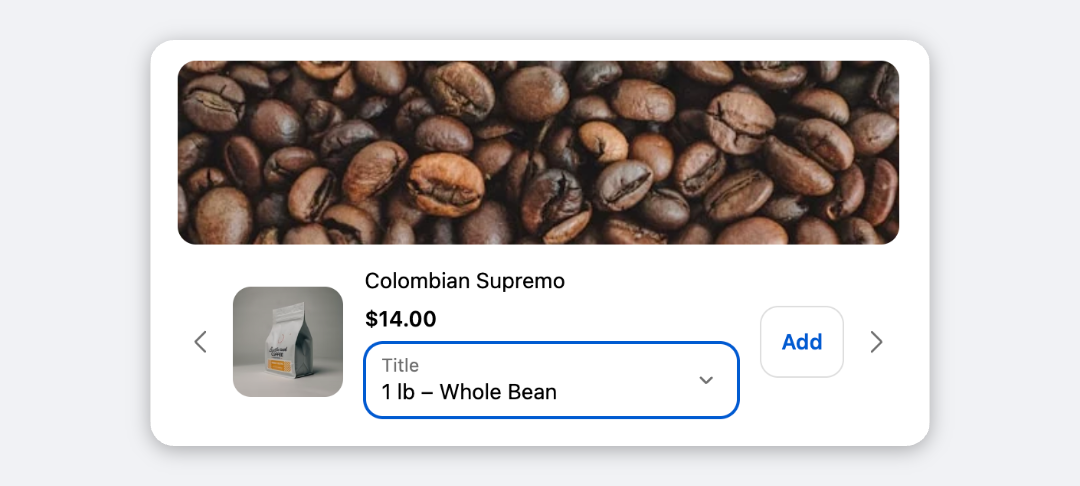
The block shows an optional image, heading and subheading, then a list of product rows. Each row has a small thumbnail, the title, price with any savings badge, a variant selector when the product has several variants, and an Add button. When there are more products than fit one page, arrows, and optionally dots or a counter, let the buyer page through.
When to use it
- Offer several small add-ons, such as socks, batteries or refills, without taking much vertical space.
- Sell products with sizes or colours where the buyer needs to pick a variant before adding.
- Show a long curated list of up to 30 products across pages.
Before you start
- The Deluxe plan. Quick Add Upsell isn’t included in Advanced. Choosing it on Advanced opens the Upgrade The Plan window.
- Products available to buyers. They must be active and available on your Online Store sales channel.
Set it up
- In Checkout Ninja, go to Blocks and click Create New Block. Then click Start Fresh, or open an existing block you want to add it to.
- Click Add block and choose Quick Add Upsell.
- Under Products, keep Custom Products and select the add-ons in the order you want them. Or choose Related Products or Complementary Products.
- Set Maximum Products and Products Per Page.
- Under Variant Selector, choose how Sold-out Options behave.
- Under Pagination, choose a Page Indicator if you want one.
- Under Content & Labels, type a Heading and Subheading.
- Click Done. Check that Status is Active, then click Save and copy the Block ID.
- Click Open Checkout Editor. Add the Custom Block app block where you want the list, paste the Block ID and save.
With Custom Products selected and no products picked, the block shows nothing at checkout. It doesn’t fall back to Shopify recommendations.
Settings reference
Products
| Setting | What it does | Default |
|---|---|---|
| Product Source | Custom Products: the products you select, in order. Related Products / Complementary Products: Shopify’s recommendations for the first product in the cart. | Custom Products |
| Maximum Products | Total products across all pages, 1 to 30. | 9 |
| Products Per Page | Rows shown at once, 1 to 10. | 3 |
Products already in the cart are always left out.
Variant Selector
| Setting | What it does | Default |
|---|---|---|
| Show variant selector | Shows a selector per option, such as Size. Only appears for products with more than one variant. | On |
| Sold-out Options | Show but disable keeps a sold-out value visible but unselectable. Hide completely removes it. Availability is checked against the buyer’s other choices. | Show but disable |
Pagination
| Setting | What it does | Default |
|---|---|---|
| Show paging arrows | Shows arrows when there are more products than fit one page. Off shows every product in one list. | On |
| Page Indicator | None, Dots, or Counter (1 of 3). | None |
| Loop back to the first page | Lets the next arrow wrap from the last page to the first. | Off |
Arrows, dots and the counter only appear when products overflow one page.
Block Image (optional)
| Setting | What it does | Default |
|---|---|---|
| Image | Image shown above the list. Empty hides it, with no space reserved. Only https images display. | None |
| Alt Text | Describes the image for screen readers. Needed when the image is a link. | Empty |
| Link URL | Page the image opens when tapped. Only http(s) links work. | Empty |
| Open link in a new tab | Opens the link in a new tab. | On |
| Image Corner Radius | None, Small, Base or Large. | Base |
| Full bleed image | Lets the image reach the container edge, ignoring the padding. | Off |
| Image Max Height | No limit, Short (120px), Medium (200px) or Tall (320px). Taller images are cropped. | No limit |
Content & Labels
| Setting | What it does | Default |
|---|---|---|
| Heading | Shown above the list. Empty hides it. | Empty (hidden) |
| Subheading | Supporting line under the heading. Empty hides it. | Empty (hidden) |
Tick Customize Labels to edit these:
| Setting | What it does | Default |
|---|---|---|
| Add Button Text | Text on each row’s button. | Add |
| Adding Text | Shown while a product is being added. | Adding… |
| Added Text | Shown briefly after a product is added. | Added |
| Out of Stock Text | Replaces the button text when a product can’t be bought. | Sold out |
| Savings Badge Text | Start of the savings badge, for example “Save 20%”. | Save |
| Variant Selector Label | Not currently shown. Each selector is labelled with the product’s option name, such as Size. | Options |
| Previous Arrow Label | Read out by screen readers for the left arrow. | Previous products |
| Next Arrow Label | Read out by screen readers for the right arrow. | Next products |
| Page Counter Text | Used when Page Indicator is Counter. {current} and {total} are replaced with the page numbers. | {current} of {total} |
Click Manage translations to add languages. Buyers see their checkout language, then the base language, then English.
Elements
| Setting | Default |
|---|---|
| Show block image | On |
| Show heading | On |
| Show subheading | On |
| Show product image | On |
| Show product title | On |
| Show price | On |
| Show original price | On |
| Show discount badge | On |
Price Format
| Setting | Options | Default |
|---|---|---|
| Original Price Position | Before current price, After current price | Before current price |
| Discount Shown As | Percentage, Amount saved, Both, Hidden | Percentage |
Product Image
| Setting | Options | Default |
|---|---|---|
| Aspect Ratio | Square (1:1), Portrait (4:5), Wide (16:9), Original | Square (1:1) |
| Image Fit | Cover (fill, may crop), Contain (fit, no crop) | Cover |
| Image Corner Radius | None, Small, Base, Large | Base |
Text Style
| Setting | Options | Default |
|---|---|---|
| Heading Style | Small, Base, Strong, Heading | Heading |
| Subheading Style | Small, Base, Strong, Heading | Small |
| Product Title Style | Small, Base, Strong, Heading | Strong |
Container
| Setting | Options | Default |
|---|---|---|
| Background | Transparent, Base, Subdued | Transparent |
| Border | None, Base | None |
| Corner Radius | None, Small, Base, Large | Base |
| Padding | None, Small, Base, Large | Base |
| Spacing | Small, Base, Large | Base |
| Text Alignment | Start, Center, End. Applies to the heading and subheading only. | Start |
Verify it worked
- Go to checkout with a cart that doesn’t contain your add-ons. The first page of rows appears.
- Page forward with the arrow. With Counter, the counter updates, for example “2 of 3”.
- Pick a variant on a row and click Add. The button shows “Adding…” then “Added”, and that variant appears in the order summary.
- Negative check: open a product whose size is sold out. The size is greyed out, or missing with Hide completely.
Limitations
- Shopify Plus only for placement in the checkout steps. That’s a Shopify rule for all checkout apps.
- No subscription options. Products are added as one-time purchases, quantity 1, at their normal price.
- Only whole products can be picked, not individual variants. The buyer chooses the variant in the row.
- Text sizes are limited to Shopify’s four text styles, and colours follow your checkout branding.
Troubleshooting
The block doesn’t show in checkout. There are no products to show. Check the product selection and that the products aren’t all in the cart. See upsell products not showing.
A row shows Sold out. Every variant of that product is out of stock. The row stays in the list with a disabled button. Restock it or remove it from Custom Products.
The counter shows the wrong words.
Edit Page Counter Text under Customize Labels, and keep {current} and {total} in it. Add a translation for each checkout language.
Want to see this block in a live checkout first? See examples and use cases →
Frequently asked
How is Quick Add Upsell different from Upsell? +
Quick Add Upsell is a dense row list with paging, a page indicator and sold-out option handling. Upsell shows stacked cards and supports subscription options.
What happens to sold-out sizes or colours? +
By default they show in the variant selector but can't be chosen. Set Sold-out Options to Hide completely to remove them.
Can I show every product without paging? +
Yes. Turn off Show paging arrows and every product shows in one list.
How do I change the page counter text? +
Tick Customize Labels and edit Page Counter Text. {current} and {total} are replaced with the page numbers.