How to set up the Heading block
In short
The Heading block shows a heading line with an optional line of muted text under it. Add a Heading block, type the Heading Label, choose a Type from H1 to H6 to set its size, and add Content for the supporting line. Save, then place the block in the checkout editor with its Block ID.
Category
Layout & Content
Plan
Advanced & Deluxe
Where it shows
Shopify checkout
Setup
No code, ~5 minutes
✓ Applies to
- Advanced and Deluxe plans
- Shopify Plus checkout
- Any checkout position: body, after the header, or around the delivery address
✕ Doesn't apply to
- Custom fonts, colours or alignment. Headings follow your checkout branding
- Thank-you and order status pages
What the Heading block does
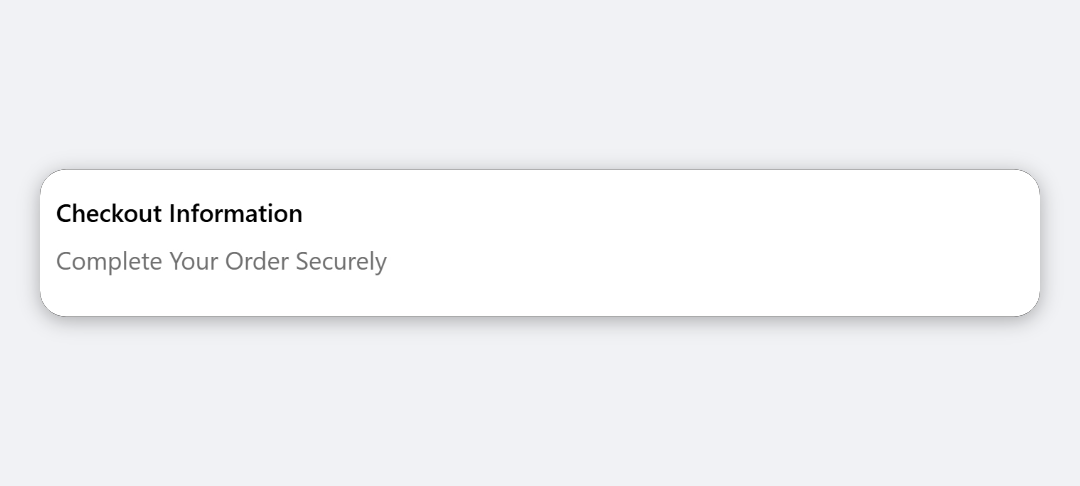
The block shows a line of heading text in checkout, with an optional line of muted text below it. Use it to label a group of blocks, for example Gift options above a checkbox and a message field.
When to use it
- Label a section you’ve built from several blocks, so buyers know what it’s for.
- Introduce an offer or notice, such as a heading above an upsell or trust badges.
- Break up a long checkout block together with the Divider block.
Before you start
- Nothing extra. The Heading block is included in both the Advanced and Deluxe plans.
Set it up
- In Checkout Ninja, go to Blocks and click Create New Block. Then click Start Fresh, or open an existing block you want to add it to.
- Click Add block and choose Heading.
- Type the heading text in Heading Label.
- Choose a Type from H1 to H6 to set the size.
- (Optional) Add a supporting line in Content.
- (Optional) Change Spacing to set the gap between the heading and the content.
- Click Done. Check that Status is Active, then click Save and copy the Block ID.
- Click Open Checkout Editor. Add the Custom Block app block where you want the heading, paste the Block ID and save.
Settings reference
| Setting | What it does | Default |
|---|---|---|
| Heading Label | The heading text. | Empty |
| Type | Visual size, H1 to H6. H1 uses the checkout heading style, H2 is bold text, H3 and H4 are body text, H5 and H6 are small text. | H1 |
| Content | Muted line shown under the heading. Leave empty to hide it. | Empty |
| Spacing | Gap between the heading and the content: None, Extra Tight, Tight, Base, Loose or Extra Loose. | Tight |
Verify it worked
- Open your checkout. The heading shows where you placed the Custom Block, with your content line underneath.
- Change Type and save. The heading size changes in checkout after a refresh.
Limitations
- Shopify Plus only for placement in the checkout steps. That’s a Shopify rule for all checkout apps.
- Six types map to four sizes, because Shopify’s checkout components expose only four text styles to apps. Only H1 renders as a heading element. H2 to H6 render as styled text.
- Font, colour and alignment come from your checkout branding. The block has no styling options of its own.
Troubleshooting
The heading is the same size as body text. Check the Type. H3 and H4 render at body size. Choose H1 for the largest heading or H2 for bold text.
There’s an empty gap where the heading should be. The block doesn’t hide itself when Heading Label is empty. Fill in the label, or remove the Heading from the block.
The heading doesn’t show at all. Run through the general checklist: the block must be Active, saved, and placed with the right Block ID.
Want to see this block in a live checkout first? See examples and use cases →
Frequently asked
Why do H3 and H4 look the same? +
Shopify's checkout components offer only four text sizes to apps, so the six heading types share them. H1 uses the checkout heading style, H2 is bold body text, H3 and H4 are body text, and H5 and H6 are small text.
Can I change the heading's font or colour? +
Not in the block. The heading uses your checkout's typography and colours. Change them for the whole checkout under Branding (Shopify Plus stores).
Can I leave out the text under the heading? +
Yes. Leave Content empty. Only the heading label shows.