How to set up the Phone Input block
In short
The Phone Input block adds a phone number field to checkout and saves the number to the order. Add a Phone Input block, set its Label, and set Where to store the value to an attribute name such as recipient_phone. It's separate from Shopify's own contact and shipping phone, and it doesn't block checkout if left empty.
Category
Custom Fields
Plan
Advanced & Deluxe
Where it shows
Shopify checkout
Saves to order
Attribute or metafield
✓ Applies to
- Advanced and Deluxe plans
- Shopify Plus checkout
- Any checkout position: body, after the header, or around the delivery address
✕ Doesn't apply to
- Replacing Shopify's contact or shipping address phone field
- Verifying that a number is real or reachable
What the Phone Input block does
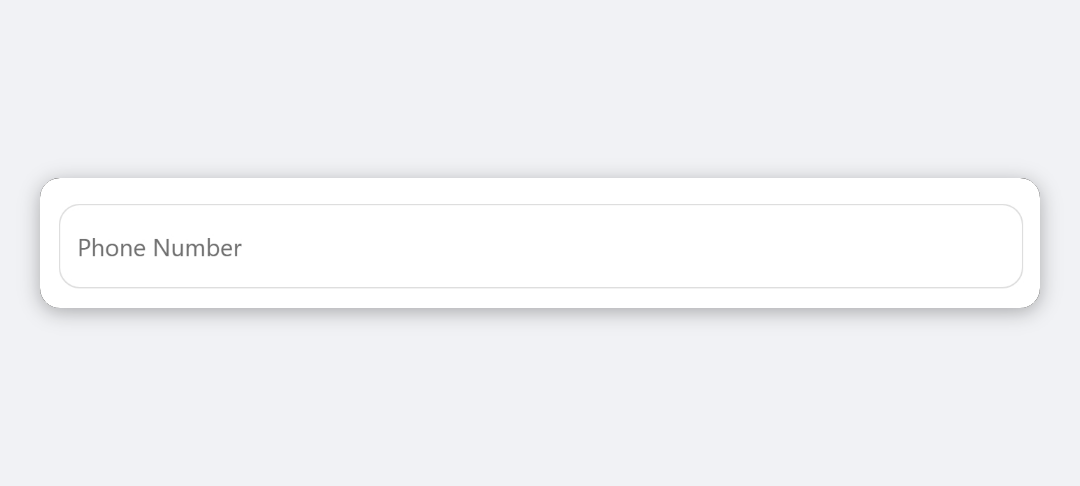
The block adds Shopify’s phone field to checkout with your label. When the buyer enters a number and leaves the field, Checkout Ninja saves it to the cart as an attribute or cart metafield, and it carries through to the order.
When to use it
- Get a recipient’s number for gift orders, so the courier can call the person receiving the parcel.
- Collect a second contact, such as a site manager for a B2B delivery.
- Ask for a number only in some checkouts, using visibility conditions on the block.
Before you start
- Decide the attribute name for the number, for example
recipient_phone. The Phone Input doesn’t fall back to a default name, so set one.
Set it up
- In Checkout Ninja, go to Blocks and click Create New Block. Then click Start Fresh, or open an existing block you want to add it to.
- Click Add block and choose Phone Input.
- Enter a Label, for example Recipient phone.
- Under Where to store the value, choose Attribute and enter Name of the attribute. Or choose Metafield and enter a Namespace and Key.
- Click Done. Check that Status is Active, then click Save and copy the Block ID.
- Click Open Checkout Editor. Add the Custom Block app block where you want the field, paste the Block ID and save.
The Phone Input doesn’t block checkout. If the number is essential, say so in the Label and check orders for it before you ship.
Settings reference
| Setting | What it does | Default |
|---|---|---|
| Label | The field’s label in checkout. | Phone |
| Default Value | Not used in checkout in the current version. The field starts empty. | Empty |
| Required | Yes stops an empty value being saved. It shows no error and doesn’t block checkout. | Blank (not required) |
Where to store the value
| Setting | What it does | Default |
|---|---|---|
| Attribute → Name of the attribute | Saves the number as a cart attribute. It appears on the order under Additional details. | None, set one |
| Metafield → Namespace and Key | Saves the number as a cart metafield, written as namespace.key. | None |
Verify it worked
- Open your checkout. The phone field shows with your label.
- Enter a number, click outside the field, and place a test order.
- Open the order in Orders. With attribute storage, the number is under Additional details with your attribute name.
- Negative check: Shopify’s own contact and shipping phone fields are unaffected and still behave as before.
Limitations
- Shopify Plus only for placement in the checkout steps. That’s a Shopify rule for all checkout apps.
- The block doesn’t block checkout, even with Required set to Yes.
- With Required on, clearing the field keeps the previous number saved, because empty values aren’t written.
- Default Value isn’t applied in checkout.
- The number isn’t copied to the customer record or used for Shopify SMS notifications.
Troubleshooting
The number isn’t on the order. Check Where to store the value has a name. A blank name means nothing is saved. The value is saved when the buyer leaves the field.
A buyer removed their number, but it’s still on the order. With Required set to Yes, an empty value isn’t saved, so the last number stays. Set Required to No if buyers should be able to clear it.
The field is empty even though I set a Default Value. Default Value isn’t used in checkout in the current version. Put example formatting in the Label instead.
Want to see this block in a live checkout first? See examples and use cases →
Frequently asked
Is this the same as Shopify's checkout phone field? +
No. It's an extra field saved to its own attribute or metafield. Shopify's contact and shipping phone fields are unchanged.
Does Required stop checkout? +
No. With Required set to Yes, an empty value isn't saved, but no error is shown and the buyer can still complete checkout.
Where do I find the number on the order? +
With attribute storage, open the order in Shopify admin and look under Additional details for your attribute name.