How to set up the Promo Banner Upsell block
In short
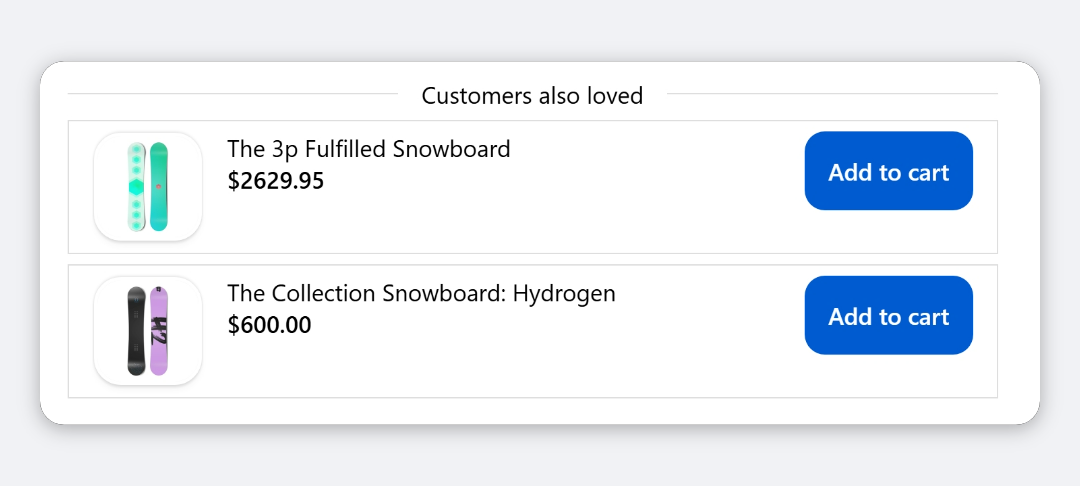
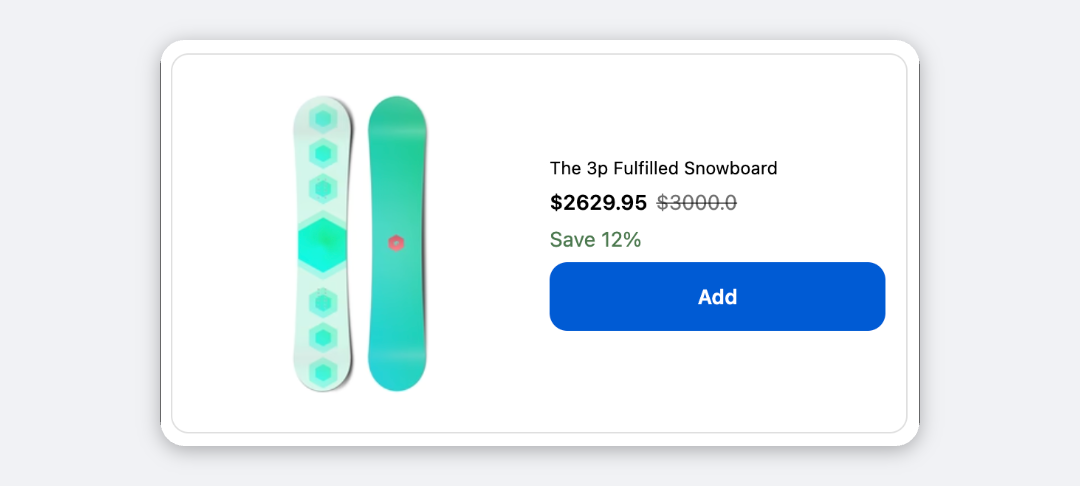
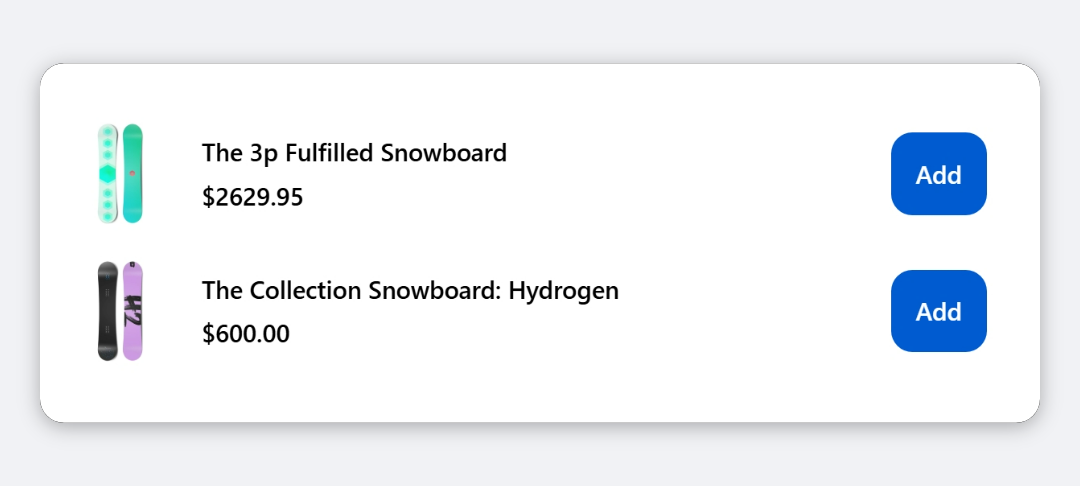
The Promo Banner Upsell block shows a campaign image with a heading and a paged list of products beneath it, each with an Add button. Add the block, upload a Banner Image, pick the products under Product Source, set how many show per view, then save and place the block in the checkout editor.
Category
Conversion Boosters
Plan
Deluxe only
Where it shows
Shopify checkout
Setup
No code, ~5 minutes
✓ Applies to
- Deluxe plan only (not on Advanced)
- Shopify Plus checkout
- Any checkout position: body, after the header, or around the delivery address
✕ Doesn't apply to
- Subscription (selling plan) options. Use the Upsell block for those
- Thank-you and order status pages
What the Promo Banner Upsell block does
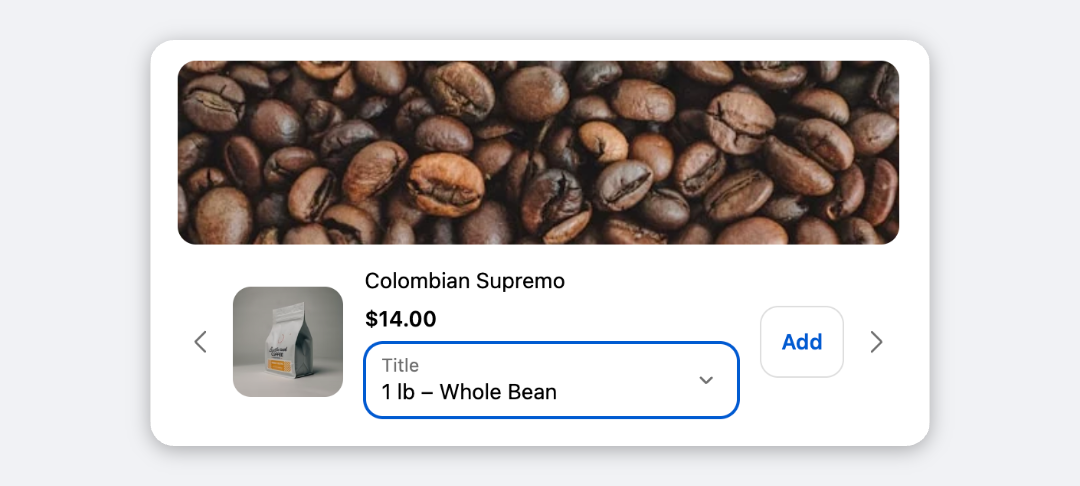
The block shows your campaign banner at the top, an optional heading and subheading, then a list of product rows. Each row has a thumbnail, title, price with any savings badge, a variant selector when needed, and an Add button. If there are more products than fit one view, arrows let the buyer page through them.
When to use it
- Run a seasonal or flash-sale campaign with a branded visual and a curated set of products.
- Promote a collab or new drop, with the banner linking to the full collection.
- Build a gift guide at checkout from hand-picked products.
Before you start
- The Deluxe plan. Promo Banner Upsell isn’t included in Advanced. Choosing it on Advanced opens the Upgrade The Plan window.
- A banner image, ready to upload. Wide images work best, and Banner Max Height crops tall ones.
- Products available to buyers. They must be active and available on your Online Store sales channel.
Set it up
- In Checkout Ninja, go to Blocks and click Create New Block. Then click Start Fresh, or open an existing block you want to add it to.
- Click Add block and choose Promo Banner Upsell.
- Under Campaign Banner, upload the Banner Image. Add Alt Text and, if you want, a Link URL.
- Under Products, keep Custom Products and select the products in the order you want them. Or choose Related Products or Complementary Products.
- Set Maximum Products and Products Per View.
- Under Content & Labels, type a Heading and Subheading.
- (Optional) Adjust elements, price format, product image, text style and container settings.
- Click Done. Check that Status is Active, then click Save and copy the Block ID.
- Click Open Checkout Editor. Add the Custom Block app block where you want the campaign, paste the Block ID and save.
With Custom Products selected and no products picked, the block shows nothing at checkout. It doesn’t fall back to Shopify recommendations.
Settings reference
Campaign Banner
| Setting | What it does | Default |
|---|---|---|
| Banner Image | Campaign image above the products. Empty shows products only. Only https images display. | None |
| Alt Text | Describes the banner for screen readers. Needed when the banner is a link. | Empty |
| Link URL | Page the banner opens when tapped. Only http(s) links work. Empty makes it a plain image. | Empty |
| Open link in a new tab | Opens the link in a new tab. | On |
| Banner Corner Radius | None, Small, Base or Large. | Base |
| Full bleed banner | Lets the banner reach the container edge, ignoring the padding. | Off |
| Banner Max Height | No limit, Short (120px), Medium (200px) or Tall (320px). Taller banners are cropped. | No limit |
Alt Text, Link URL and the new-tab option are greyed out until you add an image.
Products
| Setting | What it does | Default |
|---|---|---|
| Product Source | Custom Products: the products you select, in order. Related Products / Complementary Products: Shopify’s recommendations for the first product in the cart. | Custom Products |
| Maximum Products | Total products across all pages, 1 to 20. | 6 |
| Products Per View | Rows shown at once, 1 to 6. | 2 |
| Loop back to the first page | Lets the next arrow wrap from the last page to the first. | Off |
Products already in the cart are always left out.
Content & Labels
| Setting | What it does | Default |
|---|---|---|
| Heading | Campaign headline above the products. Empty hides it. | Empty (hidden) |
| Subheading | Supporting line under the heading. Empty hides it. | Empty (hidden) |
Tick Customize Labels to edit these:
| Setting | What it does | Default |
|---|---|---|
| Add Button Text | Text on each Add button. | Add |
| Adding Text | Shown while a product is being added. | Adding… |
| Added Text | Shown briefly after a product is added. | Added |
| Out of Stock Text | Replaces the button text when a product can’t be bought. | Sold out |
| Savings Badge Text | Start of the savings badge, for example “Save 20%”. | Save |
| Variant Selector Label | Not currently shown. Each selector is labelled with the product’s option name, such as Size. | Options |
| Previous Arrow Label | Read out by screen readers for the left arrow. | Previous products |
| Next Arrow Label | Read out by screen readers for the right arrow. | Next products |
Click Manage translations to add languages. Buyers see their checkout language, then the base language, then English.
Elements
| Setting | Default |
|---|---|
| Show banner image | On |
| Show heading | On |
| Show subheading | On |
| Show product image | On |
| Show product title | On |
| Show price | On |
| Show original price | On |
| Show discount badge | On |
| Show variant selector | On. Only shows for products with more than one variant. |
| Show paging arrows | On. Arrows appear only when products overflow one view. Off lists every product at once. |
Price Format
| Setting | Options | Default |
|---|---|---|
| Original Price Position | Before current price, After current price | Before current price |
| Discount Shown As | Percentage, Amount saved, Both, Hidden | Percentage |
Product Image
| Setting | Options | Default |
|---|---|---|
| Aspect Ratio | Square (1:1), Portrait (4:5), Wide (16:9), Original | Square (1:1) |
| Image Fit | Cover (fill, may crop), Contain (fit, no crop) | Cover |
| Image Corner Radius | None, Small, Base, Large | Base |
Text Style
| Setting | Options | Default |
|---|---|---|
| Heading Style | Small, Base, Strong, Heading | Heading |
| Subheading Style | Small, Base, Strong, Heading | Small |
| Product Title Style | Small, Base, Strong, Heading | Base |
Container
| Setting | Options | Default |
|---|---|---|
| Background | Transparent, Base, Subdued | Transparent |
| Border | None, Base | None |
| Corner Radius | None, Small, Base, Large | Base |
| Padding | None, Small, Base, Large | Base |
| Spacing | Small, Base, Large | Base |
| Alignment | Start, Center, End. Applies to the heading and subheading. | Start |
Verify it worked
- Go to checkout with a cart that doesn’t contain your campaign products. The banner, heading and first page of products appear.
- If you have more products than Products Per View, click the arrow. The next page shows.
- Click Add on a row. It shows “Adding…” then “Added”, the product appears in the order summary, and a few seconds later the row drops out of the list.
- Negative check: tap the banner. If you set a Link URL, it opens that page. If not, nothing happens.
Limitations
- Shopify Plus only for placement in the checkout steps. That’s a Shopify rule for all checkout apps.
- No subscription options. Products are added as one-time purchases, quantity 1, at their normal price.
- The block is hidden when there are no products to show, even if a banner is set. It isn’t a banner-only block. Use the Image block for that.
- Text sizes are limited to Shopify’s four text styles, and colours follow your checkout branding.
Troubleshooting
Only the banner is missing.
Check that Show banner image is on and the image URL starts with https://. Uploading through Banner Image gives a valid URL.
The whole block is missing. There are no products to show. Check your product selection, and that the products aren’t all already in the cart. See upsell products not showing.
No arrows, but I set Maximum Products higher. Arrows only appear when more products are available than Products Per View. Products in the cart, and recommendations Shopify doesn’t return, reduce the count.
Want to see this block in a live checkout first? See examples and use cases →
Frequently asked
Do I need a banner image? +
No. Without one, the block shows the heading and products only, and no empty space is left.
When do the paging arrows appear? +
Only when there are more products than Products Per View. Turn off Show paging arrows to list every product at once instead.
Can the banner link to a collection? +
Yes. Enter the page in Link URL. It opens in a new tab unless you untick Open link in a new tab.
Why is my heading missing? +
Heading and Subheading start empty. Type text into them under Content & Labels and they appear.