How to set up the Divider block
In short
The Divider block draws a thin horizontal line to separate the blocks around it. Add a Divider between two blocks in the same checkout block and save. It has no settings: its colour comes from your checkout branding.
Category
Layout & Content
Plan
Advanced & Deluxe
Where it shows
Shopify checkout
Setup
No code, ~5 minutes
✓ Applies to
- Advanced and Deluxe plans
- Shopify Plus checkout
- Any checkout position: body, after the header, or around the delivery address
✕ Doesn't apply to
- Custom colours, thickness or spacing. The divider has no settings
- Thank-you and order status pages
What the Divider block does
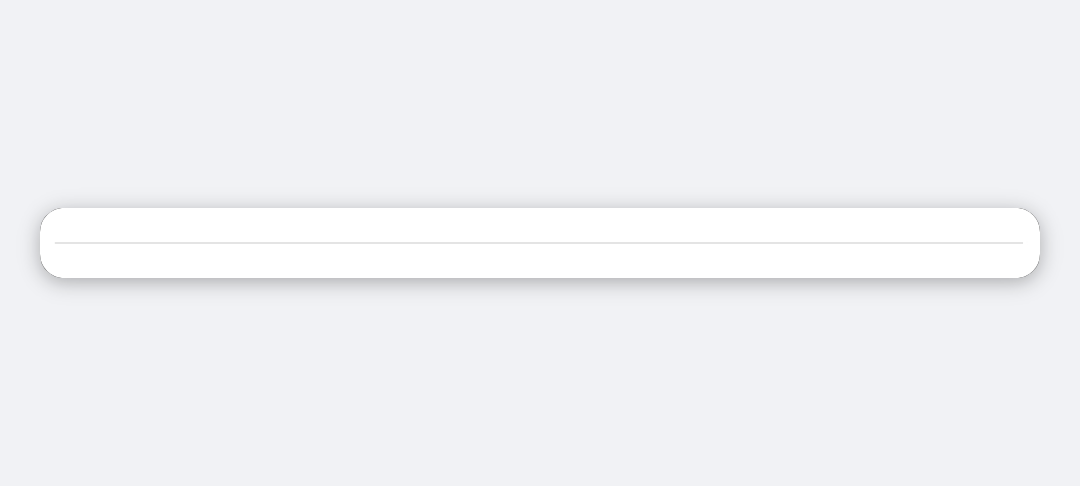
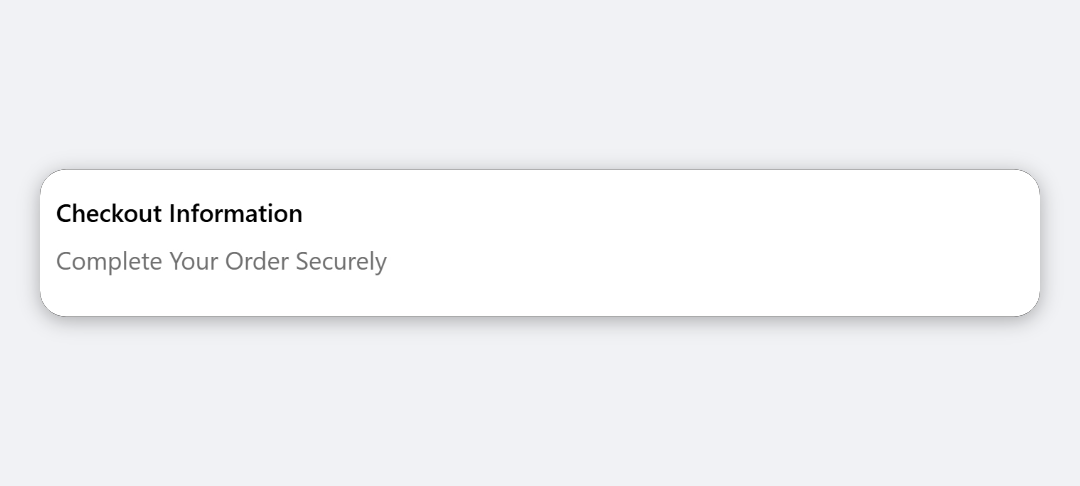
The block draws a thin horizontal line across the checkout block. Use it to separate groups of content, for example a heading and fields above from trust badges below.
When to use it
- Separate two groups of content inside one checkout block.
- Close off a section you’ve started with a Heading block.
Before you start
- Nothing extra. The Divider block is included in both the Advanced and Deluxe plans.
Set it up
- In Checkout Ninja, go to Blocks and open the block you want to add a divider to, or click Create New Block → Start Fresh.
- Click Add block and choose Divider. There’s nothing to configure, so click Done.
- New blocks are added at the end of the list. Drag the divider by its handle to sit between the blocks you want to separate.
- Check that Status is Active, then click Save.
- If the block isn’t in your checkout yet, copy the Block ID, click Open Checkout Editor, add the Custom Block app block, paste the Block ID and save.
Settings reference
The Divider block has no settings.
Verify it worked
- Open your checkout. A thin line shows between the blocks above and below the divider.
Limitations
- Shopify Plus only for placement in the checkout steps. That’s a Shopify rule for all checkout apps.
- The line’s colour, thickness and spacing are fixed. The colour follows your checkout branding.
- The divider is built for blocks stacked top to bottom, which is how blocks render with the default Layout Type.
Troubleshooting
The divider doesn’t show. Check that it sits between other blocks and that you saved the block. Then run through the general checklist.
Want to see this block in a live checkout first? See examples and use cases →
Frequently asked
Can I change the divider's colour or thickness? +
No. The divider has no settings. It uses the border colour from your checkout branding.
Where should I put the Divider? +
Between two other blocks inside the same checkout block, for example between a heading section and a set of trust badges.
Can a divider sit on its own in the checkout? +
Yes, but it's most useful between other content. A checkout block that holds only a divider shows a single line where you place it.